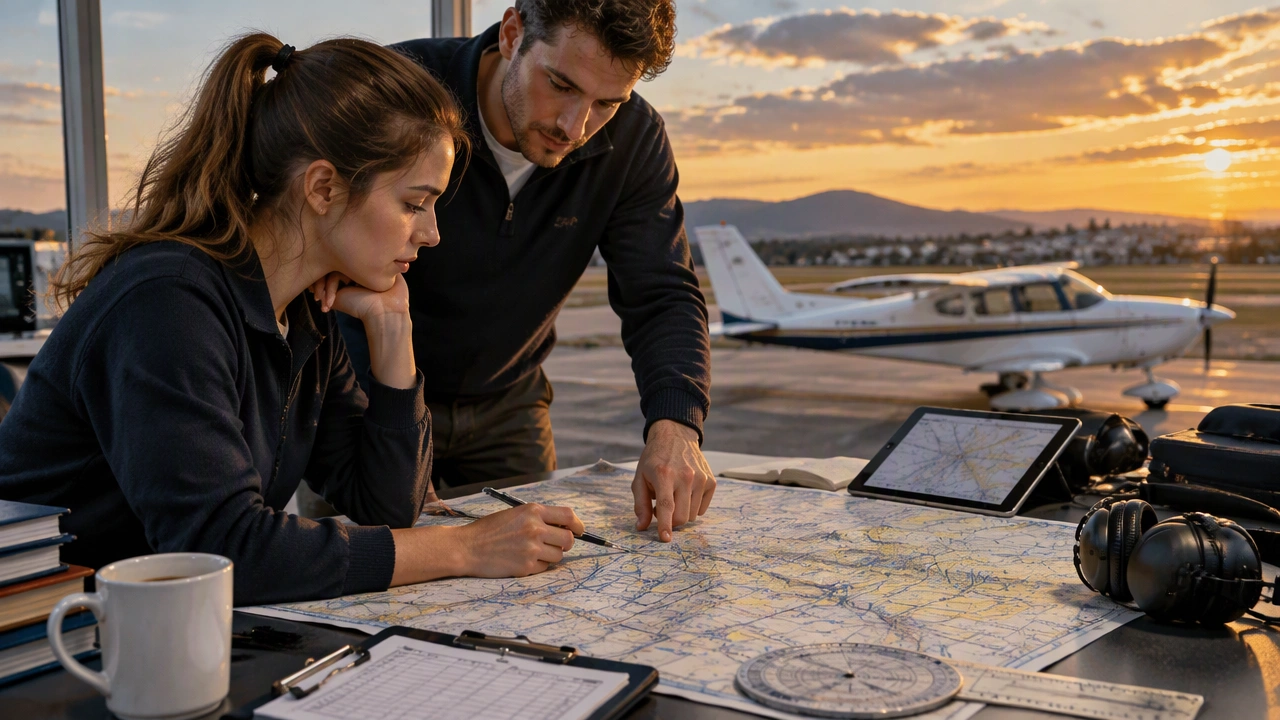
A Practical Guide to Planning Your First Cross-Country Flight

Cross-country flying is a major milestone in pilot training. It is the moment when local knowledge gives way to deliberate planning, disciplined navigation, and sound judgment. This guide explains how to plan a cross-country flight for student pilots while keeping the process calm, repeatable, and aligned with sound aviation basics.
Start With the Mission, Not the Map
Before drawing a line between two airports, define the purpose of the flight. Are you traveling to a specific destination, practicing a training route, or building experience at different airports? The answer shapes your choices about departure time, aircraft performance, alternates, and fuel reserves.
Write down three essentials:
- Departure airport and intended destination: Confirm that both airports can accept your aircraft and that operations are within your experience and endorsements.
- Preferred arrival window: Choose a realistic time that allows for taxi, takeoff, enroute weather checks, and a comfortable approach.
- Personal limits: Set maximum wind, visibility, cloud, and turbulence conditions you are willing to accept before the flight.
A good plan is not the one with the shortest line. It is the one that keeps options open when conditions change.
Select a Route That Supports Good Decisions
Route selection begins with terrain, airspace, airport services, and weather. Look at the big picture first, then refine.
Build a Rough Corridor
Draw a broad corridor between your origin and destination. Identify airports that can serve as fuel stops or alternates, and note terrain that may require higher altitudes or create rising air. Avoid routes that force a single option when a nearby airport could provide an easier diversion.
Review Airspace and Terrain
Mark restricted areas, military operating areas, Class B, C, and D airspace, and any route segments that would place you close to boundaries you do not want to cross. Check obstacle and terrain clearance along the entire route, especially near departure and arrival. If a segment depends on marginal clearance, change the route or the altitude rather than hoping conditions will improve.
Choose Airports With Useful Services
For a first long flight, prefer airports with reliable fuel availability, clear taxiway layouts, approach aids, and straightforward communication. Confirm runway lengths, lighting, and any seasonal or temporary notices. A slightly longer route with better services often produces a safer flight than a direct route with limited options.
Plan Fuel With Margin
Fuel planning is arithmetic with consequences. Begin with the aircraft’s approved or observed burn rate, then add taxi, climb, cruise, and reserve requirements. Use conservative numbers rather than best-case numbers.
Calculate Leg Fuel
For each leg, estimate time enroute using expected groundspeed, then multiply by the planned fuel burn. Add a contingency for headwinds, vectoring, holding, and altitude changes. If the plan depends on perfect winds, it is not yet a plan.
Set a Personal Reserve
Regulations define minimum reserves, but a student pilot should carry more than the minimum. Treat reserve fuel as decision-making fuel: the amount needed to divert, wait, or change altitude without rushing. Consider a personal target such as enough fuel to reach an alternate plus an additional buffer, adjusted for weather and traffic.
Verify Before Takeoff
Check actual fuel on board with a dipstick or sight gauge when possible, not only the gauge indication. Confirm that the fuel grade and availability at each planned stop match the aircraft requirements. Recalculate if departure time, route, or winds have changed.
Build a Navigation Plan You Can Trust
Modern cockpits offer powerful tools, but the strongest navigation plan uses multiple methods and clear checkpoints.
Use Pilotage and Dead Reckoning Together
Mark visual checkpoints such as towns, lakes, rivers, highways, and distinctive terrain. Estimate time between checkpoints using planned groundspeed, then compare position and time as you fly. Dead reckoning gives you a baseline; pilotage confirms it.
Prepare for Radio and Position Reporting
Review frequencies, expect possible frequency changes, and write down key calls in advance. If the route crosses areas with limited radar coverage, plan how you will report position and how you will maintain situational awareness when landmarks are sparse.
Set Altitude and Timeout Rules
Choose cruising altitudes that provide terrain clearance, traffic separation, and a practical escape route. Before departure, decide what will cause you to turn back: a missed checkpoint, a fuel trend below plan, worsening weather, or a personal comfort limit. Rules set on the ground are easier to follow than rules invented in the air.
Check Weather as a System
Weather is not a single number. Review surface conditions, winds aloft, ceilings, visibility, convective outlooks, and the trend along the route. Pay special attention to departure and arrival windows, because a good enroute forecast does not guarantee a workable landing.
Identify the first point where you would change the plan. If convective weather is building near the midpoint, for example, decide before launch whether you would depart later, reroute, or cancel. This turns uncertainty into a manageable decision.
Complete the Paperwork and Cockpit Setup
Prepare the aircraft documents, weight and balance, performance data, and any required charts or electronic charts. Load the route carefully and verify each waypoint. Set up frequencies, transponder codes, and a clean altimeter source. A tidy cockpit reduces workload when the flight becomes busy.
Use a Structured Briefing
Before leaving the ramp, brief the flight in plain language: route, altitudes, checkpoints, fuel plan, weather, alternates, and personal limits. Say what will make you continue and what will make you stop. If you are training, review the plan with your instructor and make sure the route matches your stage of training and endorsements.
Go, Delay, or Cancel
The final decision is simple to state and demanding to make. Go when the aircraft is ready, the weather fits your limits, the fuel plan has margin, and the route offers good alternatives. Delay when a short wait could improve conditions or reduce traffic pressure. Cancel when the plan depends on hope, when reserves are thin, or when fatigue or stress is reducing your judgment.
Keep a Postflight Debrief
After landing, compare planned and actual fuel, time, winds, and checkpoints. Note where the route created unnecessary workload and where your estimates were optimistic. Write down one change you will make next time.
Cross-country planning becomes easier with repetition because the sequence stays the same: define the mission, choose a flexible route, calculate fuel with margin, prepare navigation, study weather, and make a deliberate go or no-go decision. That steady process is the heart of learning to fly beyond the pattern.